Playing with confidence / GUIDE 24
Hiding Against Five Independent AI Seekers
Five-seeker hiding mode places the maximum number of AI searchers against your single character. The villa, rules for staying hidden, player speed, and countdowns remain the same, but five independent inspection lists can overlap in ways that a one-seeker practice round never shows. The right goal is disciplined survival decisions under incomplete information. There is no special avatar, furniture type, or guaranteed opening that disables all five seekers.
Use preparation to remove avoidable mistakes
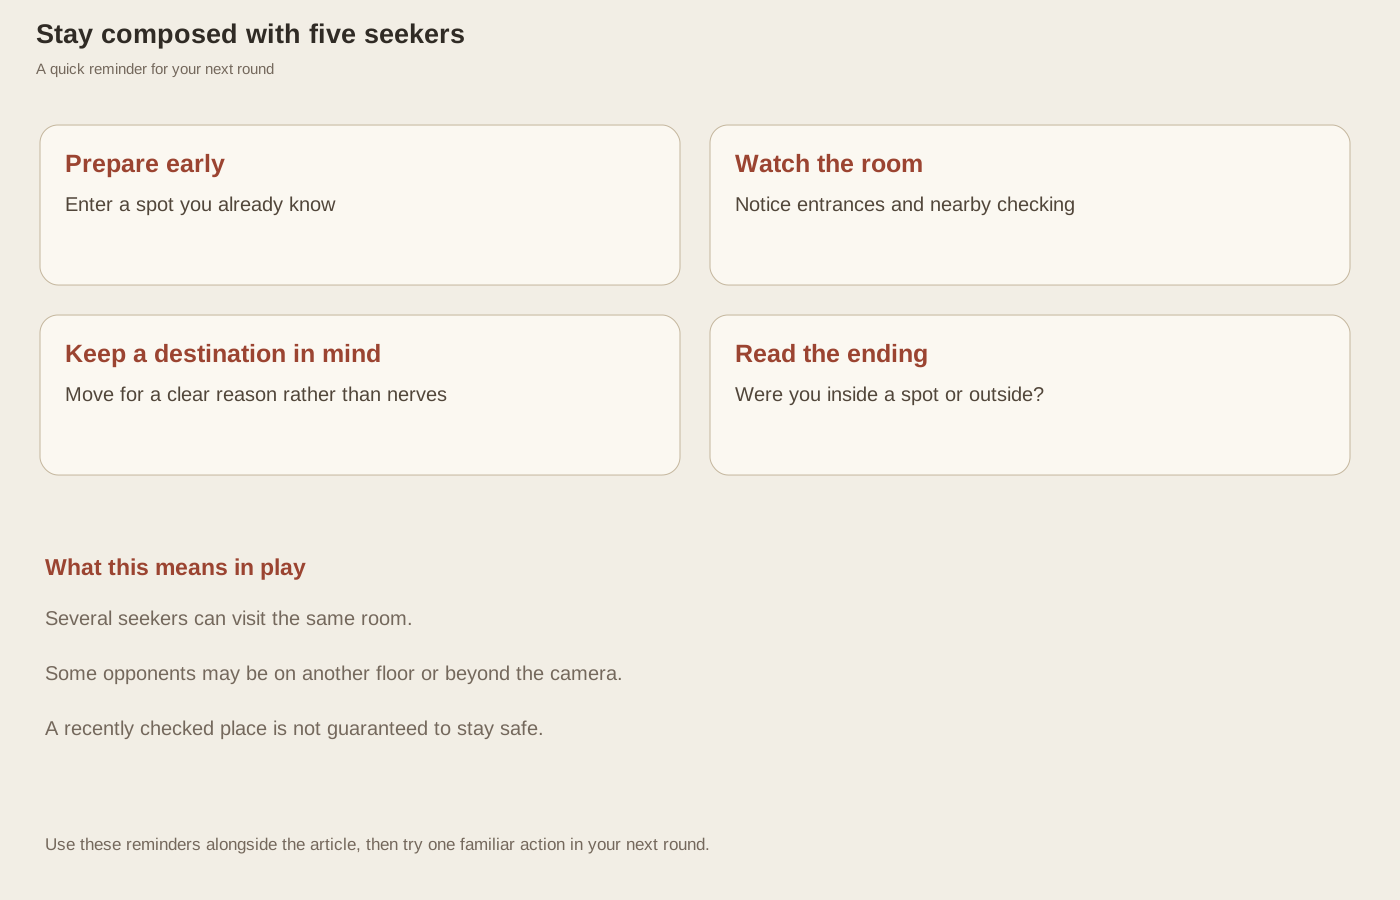
Choose “I'll hide,” click “Next: Opponents,” and select five. Continue to the character step and check the summary before starting. You are the only hider. You receive the usual twenty-second preparation phase before AI search movement begins. Spend that time reaching a known usable spot and confirming the Hidden status. Entering early is a reliable action; being caught out because you confused decorative furniture with a hiding place is an avoidable setup error.
If you want to begin upstairs, practice the transport route beforehand with fewer opponents. Stairs activate through movement, while the elevator requires F. After arrival, move north away from the pads and confirm 2F before entering a room. Five seekers do not grant a longer setup period, so do not use the opening of a serious attempt to discover an unfamiliar route from scratch.
Understand what the additional seekers change
With five seekers, several people can be searching at once. They may spread across floors or arrive in the same room. They do not politely divide the house so that one finished visit means everyone has left your area. Keep watching the nearby entrances and remember that a character disappearing from view does not locate the other four. You need a plan for what you can see without assuming you know everything elsewhere.
This creates uncertainty rather than a simple five-times-faster version of one route. A visible seeker leaving your room says little about the four others. One inspection of a spot does not clear it from everyone's list. Even if a seeker has passed a place, another may visit it later. Avoid turning a single visible event into a global claim that a destination is now safe.
Balance staying hidden against exposure
If you are hidden, a seeker has to check the place you occupy to find you. If you leave, a checking seeker nearby can catch you outside. Those situations call for different choices. Moving just to feel busy can expose you to more trouble, particularly when several opponents are active. A better reason to leave is a specific nearby threat and a familiar destination you know how to enter.
A relocation is more defensible when it responds to a specific nearby threat and leads to another known spot through a practiced route. Even then, success is not assured. The current camera follows you and cannot show every seeker across both floors. An apparently empty corridor does not disclose all pending inspection activity. Use the pause function when you want to assess the visible situation, remembering that pausing freezes the world rather than revealing hidden AI plans.
Learn from each ending
The loss result names the seeker and spot when a hidden-place inspection discovers you. An exposed discovery message explains that a nearby inspection caught you outside a hiding place. These messages distinguish two different failures: remaining at a spot that was checked, and moving or waiting unhidden when an inspection resolved nearby. Record that distinction before starting again.
For practical progression, try the same opening at one, three, and five seekers, while changing only the opponent count. Keep notes about your first spot, any relocation, and the cause of the ending. This will not produce a universal winning schedule because target orders change, but it will reveal whether your own interaction errors or route confusion are recurring. The strongest improvement is eliminating those controllable mistakes while accepting that five randomized search lists make any fixed hiding plan uncertain.