Playing with confidence / GUIDE 25
Reading the HUD Camera and Visual Feedback
The interface in Villa Hide & Seek communicates role, time, location, interaction targets, and hidden status. Because the main scene is drawn on Canvas and the camera follows your character, it is easy to mistake a camera shift or faded avatar for a change in the rules. Read the explicit interface labels first, then use the scene to understand nearby geometry and visible AI movement.
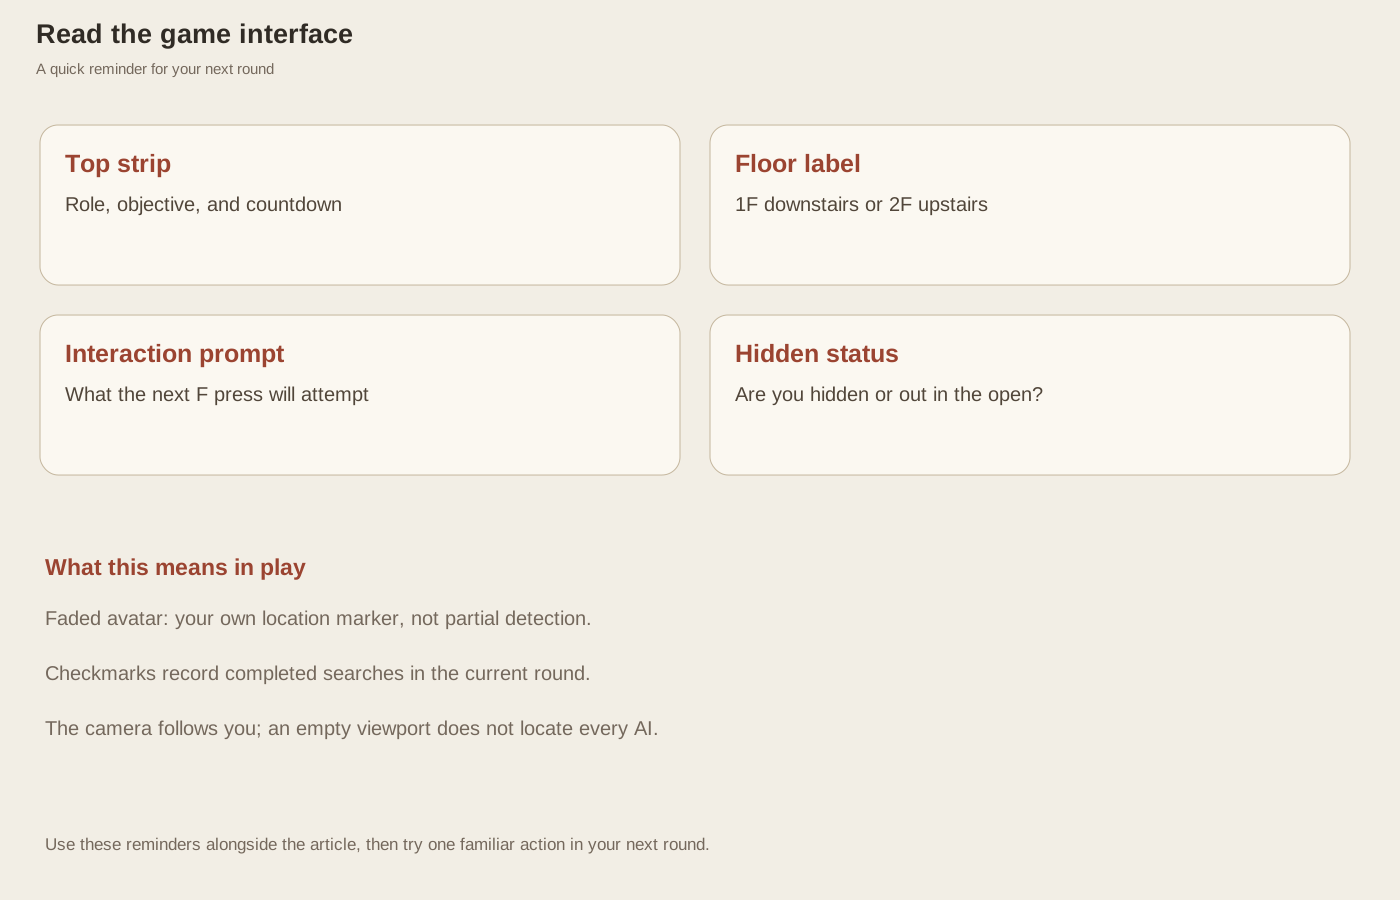
Start with the top information strip
The role badge says Seeker or Hider. The objective next to it changes with the phase. A seeker sees the found total and an F-to-search reminder. A hider sees preparation guidance before searching begins and a survival objective afterward. These texts tell you what counts as progress for the current round. Discovering one character is progress in seeker mode, but it is not a win until the total equals the chosen hider count.
The clock shows the preparation countdown as “Hide:” during the initial hiding phase, then the formatted active-search time. Seeker rounds begin directly on the active clock. The floor label distinguishes 1F downstairs shared rooms from 2F upstairs private rooms. Read it after using stairs or elevator, especially if you held a movement direction near the stair trigger and might have traveled twice.
Treat the bottom prompt as a target indicator
The prompt explains what a current F press will attempt. When hidden, it offers leaving the hiding spot. Near the elevator, it offers a floor transfer. Near supported furniture, it names the spot and changes between “Check” and “Hide at” according to your role. If it is absent, no furniture interaction is available from that position, unless you first need to resume an inactive round.
When two pieces of furniture sit near each other, the prompt is your best way to tell them apart. This matters in storage and the upstairs bedroom. Move toward the one you intend to use and wait for its name to appear. A press at the wrong place still does something, but it will not complete the second check or put you in the hiding spot you meant to choose.
Interpret hidden and checked markers
A hidden player is drawn with reduced opacity, and the status explicitly identifies hiding. The faded image exists so you can locate yourself in the room. It is not a graded stealth percentage, a power meter, or an indicator that a seeker has partly detected you. While hidden, movement keys do not change your position. Leave with F before attempting to walk.
Checked furniture in seeker mode receives a visual mark. That mark records a search in the current round, regardless of whether the spot was empty or occupied. AI hiders do not move, so it is useful coverage information. When a seeker round ends, remaining targets can become visible in the scene as well as being named in the timeout text. That end-of-round reveal does not mean you could see them during ordinary searching.
Understand what the camera does and does not show
The menu gives you a broad view of the villa, while a round brings the camera closer and follows your character. You may see less of a room as you move toward its edge. Keep using the floor label, corridor, and familiar furniture as landmarks. Resizing your window will not make a character stronger or change which furniture can be used; concentrate on a comfortable view rather than searching for an advantage in the screen size.
AI seekers are drawn only on your current floor, and the part of the room on screen may exclude seekers farther away on that same floor. An empty-looking room does not tell you where every seeker is. Notifications appear temporarily near the top and explain actions such as entering a spot, empty searches, floor arrivals, and preparation ending. Use those messages to confirm events, but rely on persistent role, floor, found count, and hidden status when a temporary message fades. These labels help you decide what to do next even when the movement on screen feels confusing.