Getting started / GUIDE 05
Surviving Your First Hiding Round
Playing as a hider changes the game from a checklist into a timing problem. You control one character while one to five AI seekers inspect the villa. Your first objective is to enter a hiding place before preparation ends. Your longer objective is to remain undiscovered throughout the following 120 seconds. Neither a distant room nor a large piece of furniture is automatically safe; what matters is whether you entered a spot and whether a seeker checks it.
Prepare with one seeker
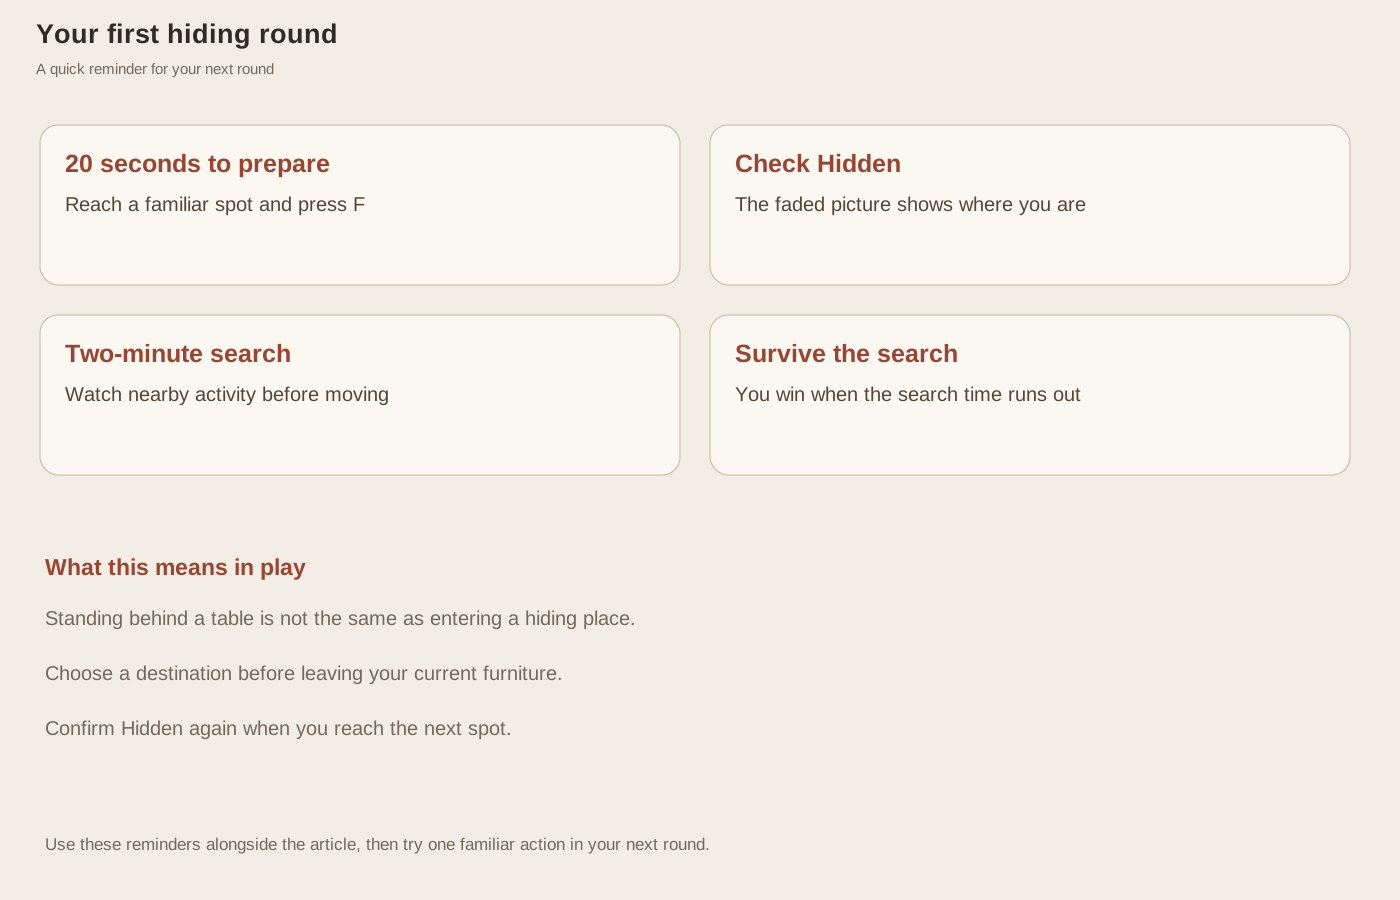
Choose “I'll hide” on the menu and set one AI seeker. The hider count remains one because you are the hider. After starting, the display shows a twenty-second preparation countdown. During preparation, AI search movement does not run. You can use the time to reach either floor, learn a room entrance, and interact with a valid hiding spot.
Pick a nearby spot for your first attempt rather than attempting an ambitious tour. Walk to the furniture's approach side and wait for a prompt naming the intended place. Press F once. The Hidden status confirms that the game has registered the action, and your avatar becomes partly transparent. If the status still says you are out in the open, being visually behind a sofa is not enough. Move until the correct interaction prompt appears and try again.
Understand what hidden means
While hidden, movement keys do not move your character. You have settled into the selected furniture, and your faded picture shows where you are. If you want to walk somewhere else, press F to step out first. You do not need to keep pressing anything to stay inside. Watch the room and the Hidden status, then decide whether you have a reason to leave rather than treating the faded picture as a warning that your hiding time is running out.
A seeker discovers a hidden player when its check finishes at the same spot. Simply entering your room or walking beside your furniture does not automatically reveal you. However, every hiding spot belongs to the seekers' search pool. Staying in one place can succeed if inspections do not reach you before time expires, but no spot is excluded from inspection by design.
Watch the active search
When preparation ends, the two-minute search begins and the seekers start moving. You can watch the ones that appear on your current floor. A “Checking…” label beside furniture is a reason to pay closer attention, especially if that furniture is yours. It is not an invitation to wait for a precise countdown. Notice where the character has stopped and whether you have a clear route to another real spot before deciding to leave.
A seeker may walk past your room or return to somewhere it has already checked. Do not assume that its next move must be toward you. Watch the current direction and activity, then decide whether your own place looks threatened. With more opponents, you will have less information about everyone at once. A calm choice about the nearby situation is more useful than trying to guess a fixed route for the entire round.
Decide when to leave
Pressing F while hidden steps you out beside your furniture. You can then move and enter another hiding place. That may help you avoid a check, but it also exposes you along the way. A nearby seeker can catch you outside a spot while it is checking the area. Choose the next place before leaving, and confirm Hidden again when you arrive. Moving simply because you feel nervous can create a bigger problem than waiting.
For your first round, practice hiding early and observing what happens. If you lose, the result names the seeker and the inspected spot, which explains the immediate cause. If you survive until the search clock reaches zero, you win. In later rounds, experiment with one deliberate relocation and compare the outcome. Start with reliable entry and exit actions before trying to turn every search into a chase.