Playing with confidence / GUIDE 22
Relocating Between Hiding Spots During a Search
You see a seeker coming closer and want to leave your hiding place. Before pressing F, choose where you will go and how you will enter it. A move can help you avoid a check, but a rushed trip can also leave you exposed. This guide walks through the decision, the first steps out of furniture, and the confirmation you need at the destination so that a relocation is a plan rather than a panic reaction.
Begin with a real reason to move
A sensible reason is visible evidence that a seeker is approaching or inspecting your current spot. Even then, the camera does not explicitly reveal every AI target, and multiple seekers can be elsewhere. Treat the decision as an informed response, not a guaranteed rescue. A completed inspection at another spot does not require you to move just because an AI entered the room.
While hidden, you are in danger if a seeker checks your actual furniture. Leaving creates a different risk: being caught in the open near a seeker checking the area. A decorative desk cannot replace entering a real hiding place. Before you step out, ask whether the next destination is clear and whether a nearby checking character might make the journey more dangerous than staying where you are for the moment.
Know where you will step out
One F press while hidden returns you to the clear floor beside your current spot. It does not send you in a movement direction, jump to the next furniture object, or operate nearby transport at the same time. Plan your first movement from that open floor. Consult the room guide or atlas if you are unsure which side of a large object the exit uses.
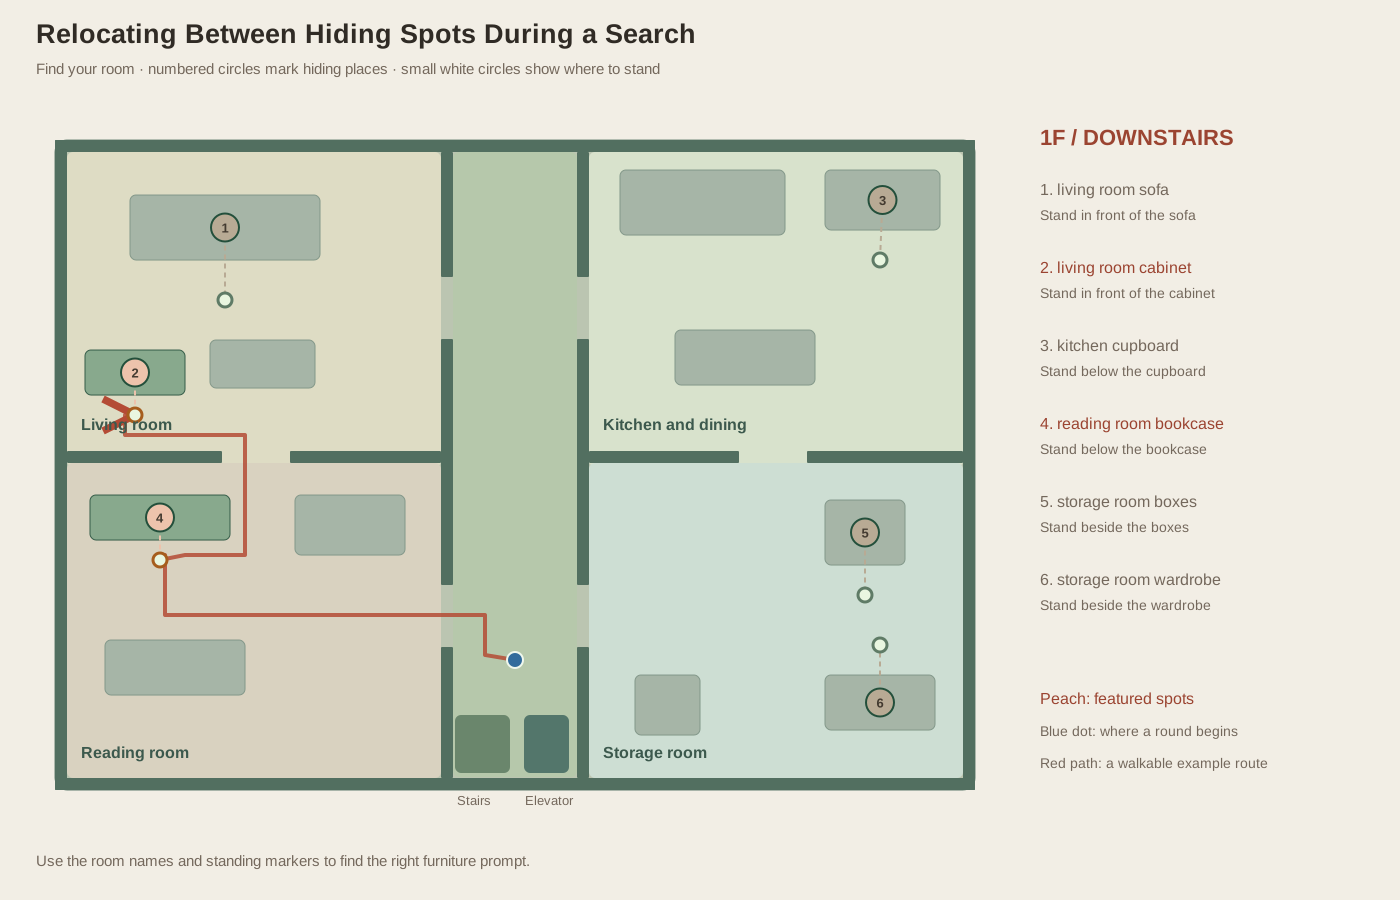
For example, leaving the upstairs bed puts you beside its right side, while leaving the storage boxes puts you near the storage wardrobe. Think about the first open step from there. If you hold a direction into furniture, you can lose time without making progress. Practice stepping out, moving away from the object, and turning toward your next destination before trying the same journey during an active search.
Choose and confirm the destination
A destination must be one of the twelve usable spots. A visually convenient sofa or box may be decorative. Before leaving, identify the named target and its approach side. Once you reach it, wait for the correct “Hide at” prompt and press F again. Confirm the Hidden status. Reaching the furniture without completing that second interaction leaves you out in the open.
Nearby pairs can be good preparation exercises, but they are not instant swaps. The bedroom bed and wardrobe have close standing places, and the storage boxes and wardrobe are another close pair. At a position within range of both, the name in the prompt tells you which action is ready. After exiting, move deliberately toward the new approach instead of rapidly tapping F and accidentally re-entering the original spot.
Handle longer moves with more caution
A room change requires navigating through a wall opening. A floor change requires leaving the spot, reaching transport, and completing the appropriate stair or elevator action. Those movements can be useful, but they increase the period during which you are exposed. The player's higher movement speed than the AI does not erase the possibility of a nearby resolved inspection during the journey.
Practice a chosen relocation during the twenty-second preparation phase first. That phase lets you learn the route and prompts without active AI search movement. Once the route is familiar, try one planned relocation in a one-seeker round and record the cause, route, and outcome. Add more seekers only after the entry-and-exit sequence is reliable. There is no universally safe relocation schedule, because inspection orders are randomized independently. A good habit is to move for a specific threat while preserving a known supported destination, rather than moving merely because remaining hidden feels passive.